You can disable automatic Chrome updates in Windows and Mac by changing the name of the update folder, altering the URL of auto update, and redirecting all auto updates, moving on to an alternative browser, and so on.
All Google Chrome users have had to face one common thing – auto updates in Chrome. Now, while updates help your system enjoy better security and enable bug removal, they also modify how the browser is supposed to perform. You are left grappling with sudden changes in layout and functions and accept those changes reluctantly.
If you are wondering, “How do I stop Google Chrome from automatically updating,” we have got good news. You don’t need to be a tech geek to do this. There are a few simple steps to preventing Chrome updates and these should keep the browser working just fine. The following fixes should take care of this issue on Windows and Mac systems:
#1. Change the name of your update folder
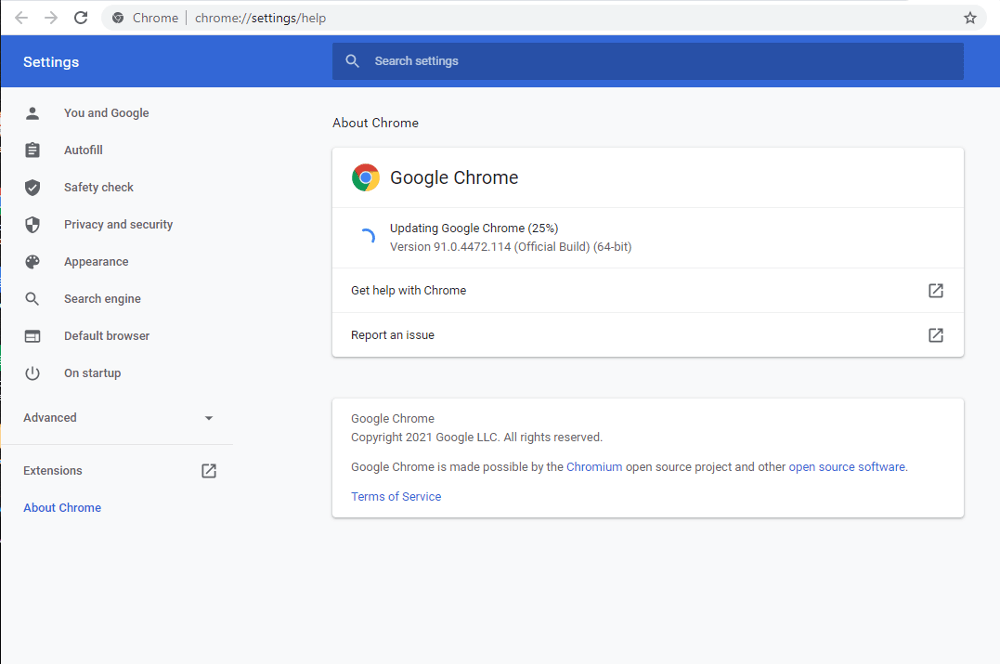
On a Windows machine, this folder is present in the Program Files which is usually located in the C drive of your computer. Go to the drive and find Program Files and then find Google. Clicking on it will display the Update folder. Give the folder a different title. Then, go back to Chrome and type in the following URL “chrome://settings/help”. This will display an error message.
C: > Program Files > Google > Update > Rename > Chrome > “chrome://settings/help”
Mac users can try changing the name of the Google Software Update folder found inside the Library section of their device. Go to Uses and open Your Mac Drive. From there, go to Library and then go to Google. Click to reveal the update folder. Change its name.
Users > Your Mac Drive > Library > Google > Google Software Update
However, it pays to remember that Google recreates this folder when it receives an update again. So that’s a temporary solution at best.
#2. Reset Windows system configuration using services manager
Another way to stop an auto-updating Chrome browser is to tweak the Windows System Configuration. First, hold down the R key and the Windows key simultaneously to open Run. Next, type in “MSConfig” and press the Enter key. You have arrived at the System Configuration Panel. Find Services and select it. Scroll down to Hide All Microsoft Services and deselect it. Next, deselect Google Update (gupdate) and Google Update (Gupdatem). Finally, click on Apply and Save to effect the changes. You will have to restart the system now.
Win+R > Run > msconfig > System Configuration Panel > Services > Hide All Microsoft Services > Google Update (update) > Update (gupdatem) > Apply > Save >Restart
#3. Switch to an alternative browser
As you must have realized by now, tweaking settings to stop updates on your system is a tricky process. And as chrome advances, surely it will find ways to override your settings. Switching to another browser like Kingpin might make more sense in such situations. Kingpin, for instance, is not prone to frequent updates. In fact, its small developer team ensures that uses are not put through too many changes too frequently. This makes certain you are not caught off guard when you log into Chrome the next time.
There are additional benefits to this default incognito browser. It forgets session cookies and user data like passwords. Its Tabs are PIN protected and it avoids installing extensions. The user can browse in peace, undisturbed by ads. So an additional, backup browser is a neat little tool to perform your more private searches or transactions.
#4. Alter auto update URL for Chrome
This fix applies solely to Mac users. One simple step to prevent Chrome from auto updating is altering the auto update URL. Open the Finder window and go to Applications. Find the Google Chrome folder and right-click on it to display Show Packaged Content. Clicking on this folder with reveal the file named info.plist. Now look for the following key: KSUpdateURL. Change its name and save it.
Finder > Applications > Google Chrome (right click) > Show Packaged Content > Contents > info.plist > KSUpdateURL > Rename > Save
At this point, it is only fair to point out that Mac might not allow this change, following which you may end up having to deactivate the entire list of URLs that Google uses to update Chrome. You will also require permission to write folders.
#5. Stop autoupdates with Registry keys
Registry keys are found in the Registry Editor. For this, you have to start at the Run command.
- Open the command prompt and type in ‘regedit’. This will open the Registry Editor.
- Make sure to go to the exact key – Computer\HKEY_LOCAL_MACHINE\SOFTWARE\Policies.
- Then, create a new sub key under Policies by right-clicking Policy and choosing New.
- After that, call it Google.
- It’s time to make another sub key, under Google and name it Update.
- Next, go to the white space in the panel and right-click, while keeping the Update key selected.
- Now, select New>DWORD (32-bit) Value and call it UpdateDefault. Set value as 0 with a double-click.
To recap: Run > regedit > Registry Editor > Computer\HKEY_LOCAL_MACHINE\SOFTWARE\Policies > Policy > New > Google > Update > New > DWORD (32-bit) Value > UpdateDefault > 0
It’s easier than it sounds and fixes the issue.
#6. Direct auto updates to some other place – like the localhost
This fix is applicable on both Mac and Windows systems. When you send URLs related to automatic Chrome updates to the localhost, you stop getting them dumped on your system. Some of the domains that use host files are listed below:
google.com/service/update2
googleapis.com/service/update2
google.com/dl*
What you want to do is block these domains. That prevents chrome from getting a new version. But it can’t be denied that once Google moves on to new URLs, these changes may not work anymore.
#7. Disable updates from the Computer Configurations folder
Go to the Computer Configuration folder and then go to Google. Next, go to Google Update and then to Preferences. Turn on the Auto Update check period override function. Add 0 as the value.
Computer Configuration > Google > Google Update > Preferences > Auto Update check period override > 0
Summing up
Google releases Chrome updates after every six weeks or so. They boost the browser with all necessary security patches and removes bugs. These updates are also aimed at improving browser performance. However, frequent changes in the version lead users to give up using Chrome. But with the fixes listed above, you can enjoy a smooth browsing experience on both Mac and Windows. Use them one at a time or in a combination that suits your needs. Or, move to a different browser that releases fewer updates but is equally fast and as safe. Kingpin, for instance, offers high speed browsing without ads, updates, or cookies.


